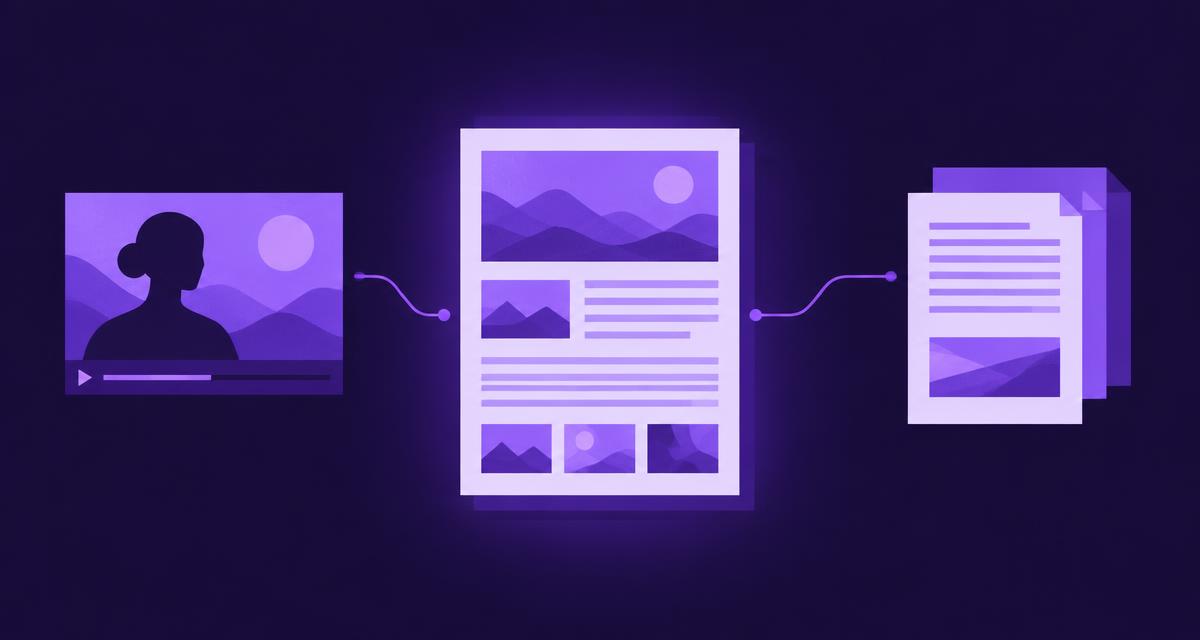
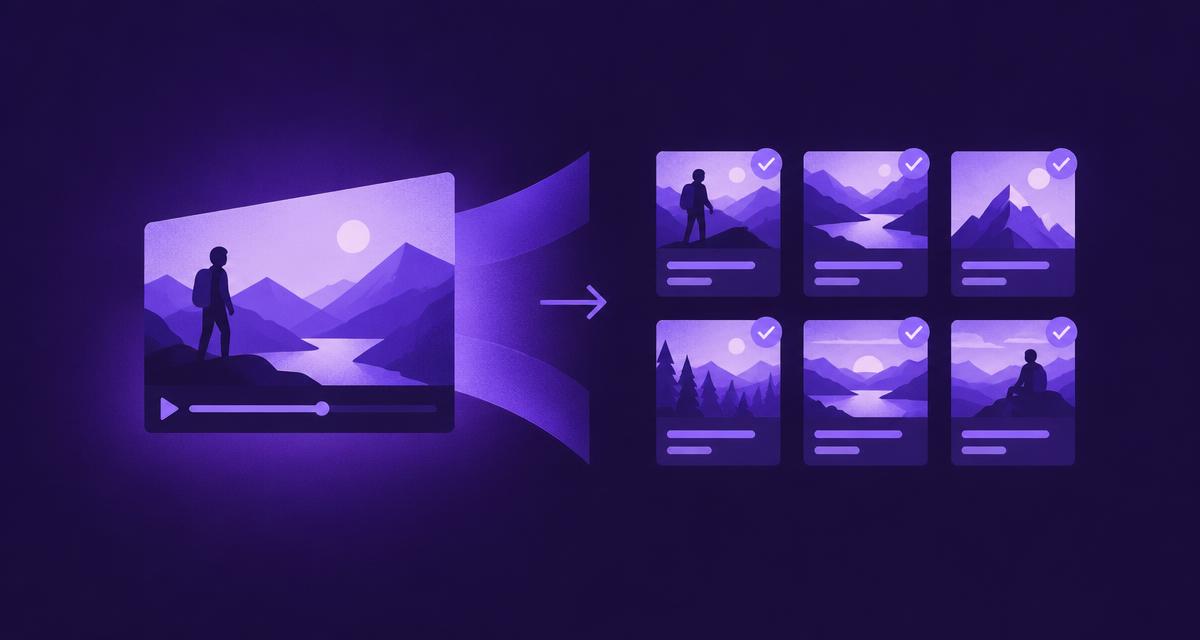
What you'll achieve
You will add one finished video ad to AdCyte, run its analysis and review the findings against the source. You will finish with a clear record of what you can use, what needs checking and which piece of content you want to create next.
Use a video you know for this first run. Familiarity makes it easier to spot an incorrect product name or missing detail while you learn the workflow. Once you are comfortable, apply the process to every ad in the campaign, including brand films and short edits.
Before you start
Have the following ready:
- Access to your AdCyte workspace and the ability to add a video.
- A finished ad you are authorised to use, in an input format accepted by your workspace.
- A way to identify the campaign, product, market and version.
- Any current approved product information you may need during review.
- A place for review notes, using your existing team process.
For the running example, use a diet cola ad showing a can being taken from a fridge and poured over ice. You can substitute your own product; the review decisions remain the same. Keep the original file available so you can check any detail that is unclear in the analysis.
1. Choose and identify the source video
Select the finished version you intend to analyse. Play it once and confirm that it contains the expected creative and end frame. Check that you have the right market version and that the file plays with its intended audio.
Record enough context to recognise it later. A useful description includes the campaign, product or variant, market and edit. For example, “Diet cola, UK barbecue campaign, main edit” is more helpful than “final v7”. Keep this context with the video wherever your current workflow allows it.
Check: You can distinguish this file from the other campaign versions. If the video contains an old offer or discontinued pack, note that now; it can still be analysed, but later content must account for its age.
2. Add the video to AdCyte
Open the video input area in your AdCyte workspace and add the selected source using the supported input route. Follow the limits and messages shown in your account. Check any product or campaign context you are asked to supply against the file you selected.
Allow the upload or import to complete before moving on. If the interface provides a preview, confirm that it is the intended ad. Otherwise, check the identifying details available and verify playback when the source becomes accessible.
Expected result: AdCyte has accepted the intended source, and you can identify which video the next stage will analyse. If an error appears, resolve that error before submitting repeated copies of the same file.
3. Run the analysis and orient yourself in the results
Start the analysis using the controls available in your workspace, or allow it to proceed if your input route starts it automatically. Follow the displayed processing state. Processing time can vary, so use the actual status rather than assuming a result is ready because a certain number of minutes has passed.
When the analysis is available, read the overall account of the ad. Check the product identity, main action, spoken message and important on-screen wording. Then look at the supporting detail available in the result.
Expected result: You have an initial account you can compare with the source. Treat it as material for review. A neatly presented result is still allowed to be wrong; typography has never been a reliable witness.
4. Check the findings against the video
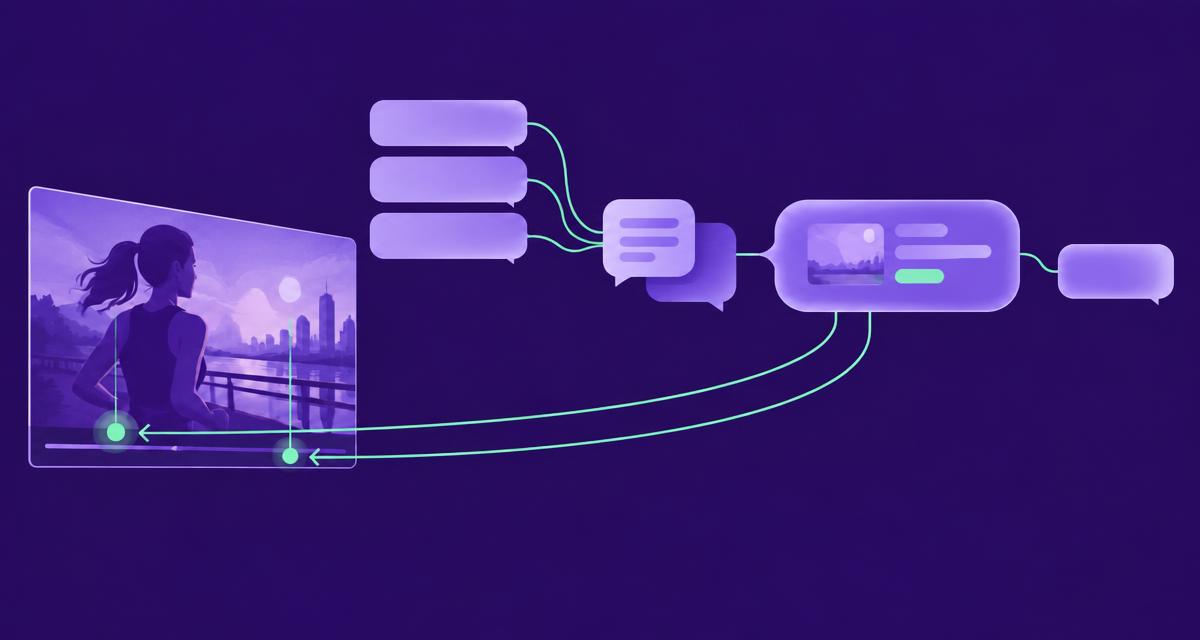
Choose three details to review first: the product or variant, an important action and a piece of on-screen wording. Use the available evidence playback or source reference to locate each detail. Watch the surrounding sequence and listen to the audio where it affects the meaning.
For the diet cola example, check that the pack really identifies the variant described, that the pouring sequence is correctly explained and that the end-frame wording has been captured accurately. Review a full statement rather than checking whether one familiar word appears on screen.
Record any correction or uncertainty in your review notes. If you cannot read a detail clearly, use the original file or another approved source to resolve it. Leave it unresolved when the evidence remains insufficient.
Check: Each of the three findings is supported, corrected or clearly marked for further checking. Use the source-checking guide for a more detailed review before relying on important claims in public content.
5. Separate the findings from additional facts
Review what the ad establishes and what you know from elsewhere. The video may show a can being poured over ice. It may not establish the complete current pack range, product availability or other details you want to include in a customer answer.
Consult the appropriate approved source for those additional facts. Confirm that it applies to the same product, market and period. Keep a note of its identity or location alongside the fact you plan to use.
For this first exercise, record one supported observation, one additional fact if available and one question that still needs an answer. There is no need to manufacture a missing fact merely to complete the exercise. “Needs confirmation” is a useful result.
Expected result: You can explain which statements came from the footage and which came from a separate source. You also know what should stay out of the first draft until checked.
6. Prepare a clear next-content brief
Choose one useful output for the reviewed material. For example, you might prepare a YouTube description explaining the campaign, or a website answer about the specific product use demonstrated. Choose a purpose that the available evidence can support.
Write a short brief using this structure:
| Brief element | What to record |
|---|---|
| Audience and destination | Who will read it and where it will appear |
| Purpose | The question to answer or campaign detail to explain |
| Source | The exact ad and relevant findings |
| Additional facts | Approved information and its source |
| Open questions | Details that need confirmation or should be omitted |
| Reviewer | The person responsible for the finished wording |
Confirm that you can reopen the analysis in your workspace. Keep the brief and review notes with the relevant source in your team's existing working location. Use the product's current save or download options where appropriate; confirm the actual behaviour before relying on a handover.
Expected result: Another colleague can identify the source, understand the intended output and see what remains to be checked. You are ready to create the first draft.
If something gets in the way
| Problem | What to do next |
|---|---|
| The input is rejected | Read the displayed error and check the current input requirements in your workspace. Confirm that the original file plays. |
| Processing has not completed | Check the actual status and any error message. Use the existing support route if the job appears stuck; avoid creating duplicate submissions without a reason. |
| The wrong edit was added | Identify the correct source and repeat the workflow with that version. Keep the results distinguishable. |
| A product or detail looks wrong | Return to the footage, record the correction and check any affected wording before using it. |
| The ad contains almost no speech | Review the product, actions, setting and on-screen text. Visual ads still have material to contribute. |
Your completion checklist
- I can identify and reopen the correct source video and analysis.
- I have checked the product, an important action and on-screen wording.
- Corrections and unresolved details are recorded.
- Additional product facts have an appropriate source and scope.
- The next output has an audience, purpose, destination and reviewer.
Continue with a source review
Use How to check video findings against their source to review the details your first output will depend on. Then use your brief to create the content. Repeat the workflow across the remaining ads so that useful details from other edits and formats enter the same process.